Ok. Electronics under way. Now what do I put it in?
Hm. I’m know I’m either going to have to live with compromise – which is what I’m trying to avoid – or design something myself. Am I a good enough woodworker to do a custom wood case? I do have some vestigial skills left over from high school shop class, and I could probably get it right, but I have no workshop in which to make a lot of sawdust (the biggest culprit will be the fine dust from things like sanding), and I’d need more tools – and then this starts becoming an expensive project.
Starting with the design constraints, obviously the minimum size will be dictated by the length of the faders. I’d like it to be as small as possible, so not too much “padding” beyond that. Checking existing “project boxes” manufactured by Hammond et al, nothing grabs me as perfect. Worse, they’re all made of plastic or metal or other things that don’t biodegrade or recycle well. Let’s see how few design compromises I’m actually forced to live with.

This leads me to investigate the new field of hobby 3D printing. I’ve always been intrigued, but I don’t know much as much about it as I should, so it’s time to investigate. I poke around at some Maker spaces in Vancouver, and find them, and their courses, a bit on the expensive side. And then I discover something really exciting: the SFU Library has a maker commons, with 3D printers! What’s more, they’re offering courses in 3D printing, and in laser cutting. I sign up immediately.
One of the really exciting things about modern 3-D printing is that the commonly-used PLA plastic filament used is fully biodegradable (it’s actually derived from cornstarch). This means I can make a box that will still be plausibly functional in 40 years time, but if it ever does wind up being “surplused” a good portion of it will break down and biodegrade quickly (as a result it’s probably not dishwasher safe, which is presumably not a very important criteria). This is getting even more interesting.

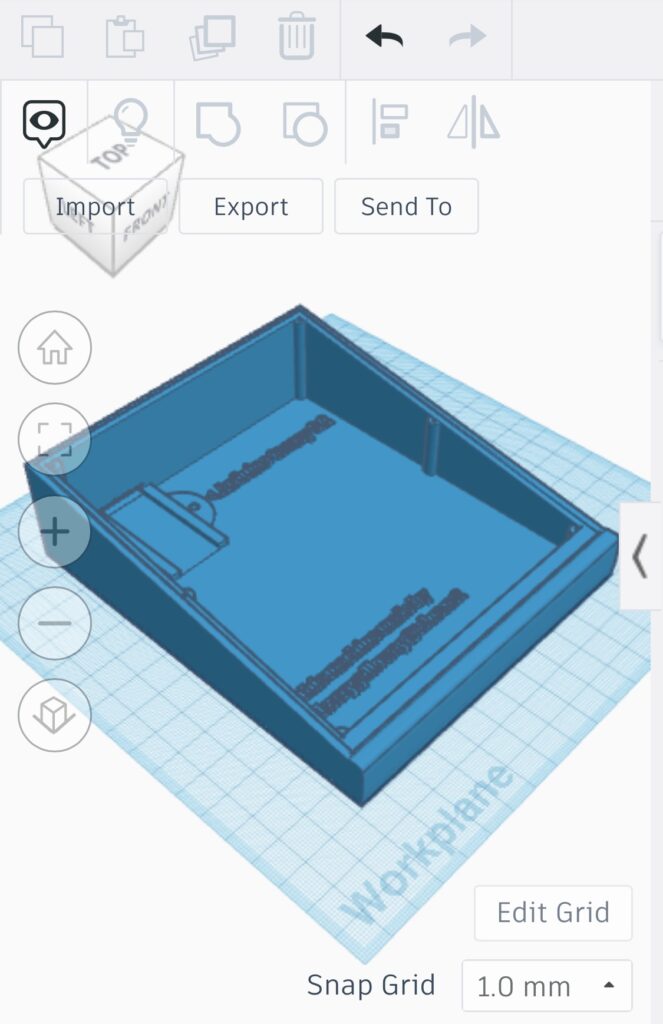
But I’m going to need a design. So now I turn to brushing the rust off my basic knowledge of 3D modelling software. I start with Sketchup, which I’ve tried my hand at before to design my studio – not seeming like the right tool for some reason. Then I turn to TinkerCad, and that’s somewhat more promising (I will eventually abandon both of these for Fusion 360, but that’s for a future post). The ideal angle for me turns out to be about 26°, shallow enough so that I’m not pushing faders uphill but deep enough for hand comfort, and for reading of the OLED display. I wound up with this initial design.
The online part of the classes start immediately and go very quickly, and soon I am in SFU’s Maker Commons taking the hands-on orientation portion. I ask if I can execute my box as my “test project” and the instructors are intrigued and give me the go ahead.
This is where the value of actual hands-on experience immediately becomes apparent. Before the first couple of layers of the box have finished printing, I can already see exactly where my mistakes are, and what I’m going to have to fix in the future iterations.
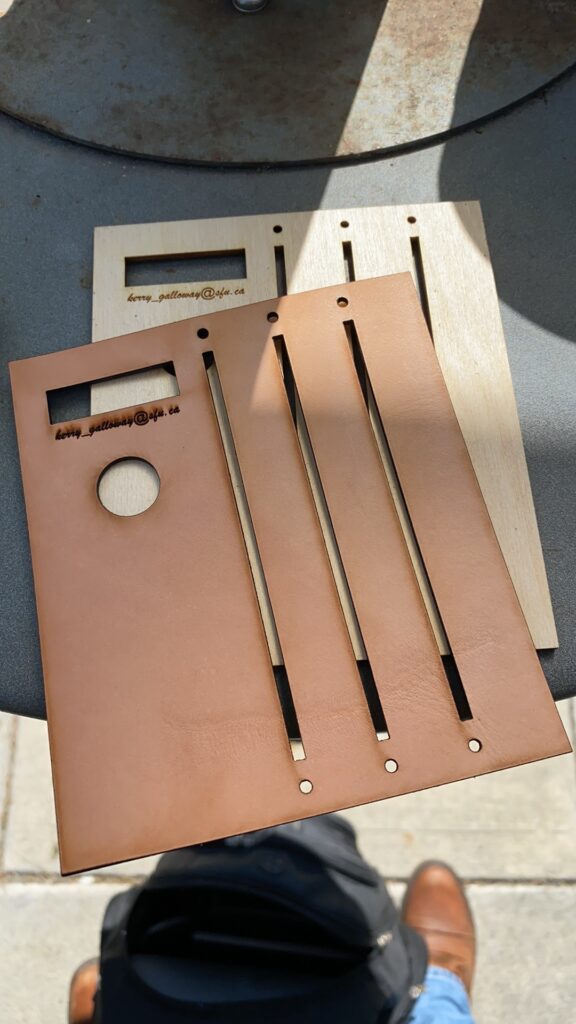
But the real eye-opener is the lasercutting course. I haven’t even thought about laying out a top for laser cutting, so I run into the next room and with the help of an instructor quickly layout a top panel with Adobe Illustrator (important rules for laser cutting: things in “RGB black” get cut, things in “RGB red” get engraved, everything else gets ignored; the line thickness must be set at .076 of an inch, which is the width of the laser. Then you just position your materials and press “print”, and with a little bit of configuration you are up and running). We run this into the laser cutter room, and a few minutes later I am holding the perfect plywood top for this version of the box. And then the instructor mentions that they also cut leather, and… “Hold on, what? Can we give that a try?”.

We fish out some leather scraps and position them. A few minutes later I am holding this. It looks shockingly good already.
This will lead me to my next adventure – staining leather. A trip to the local leather hobby shop gives me a quick lesson in the very basics from the staff, and about $30 worth of dyes, applicators and leather treatments.
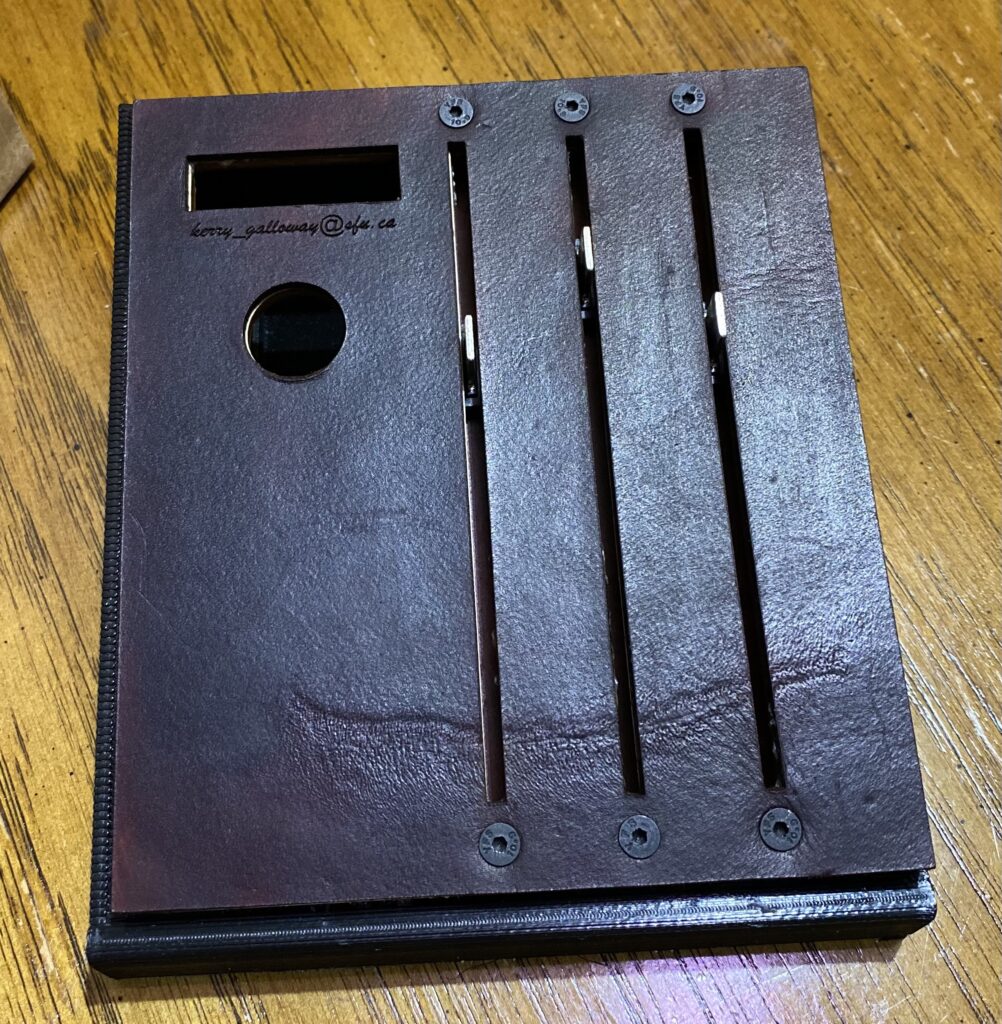
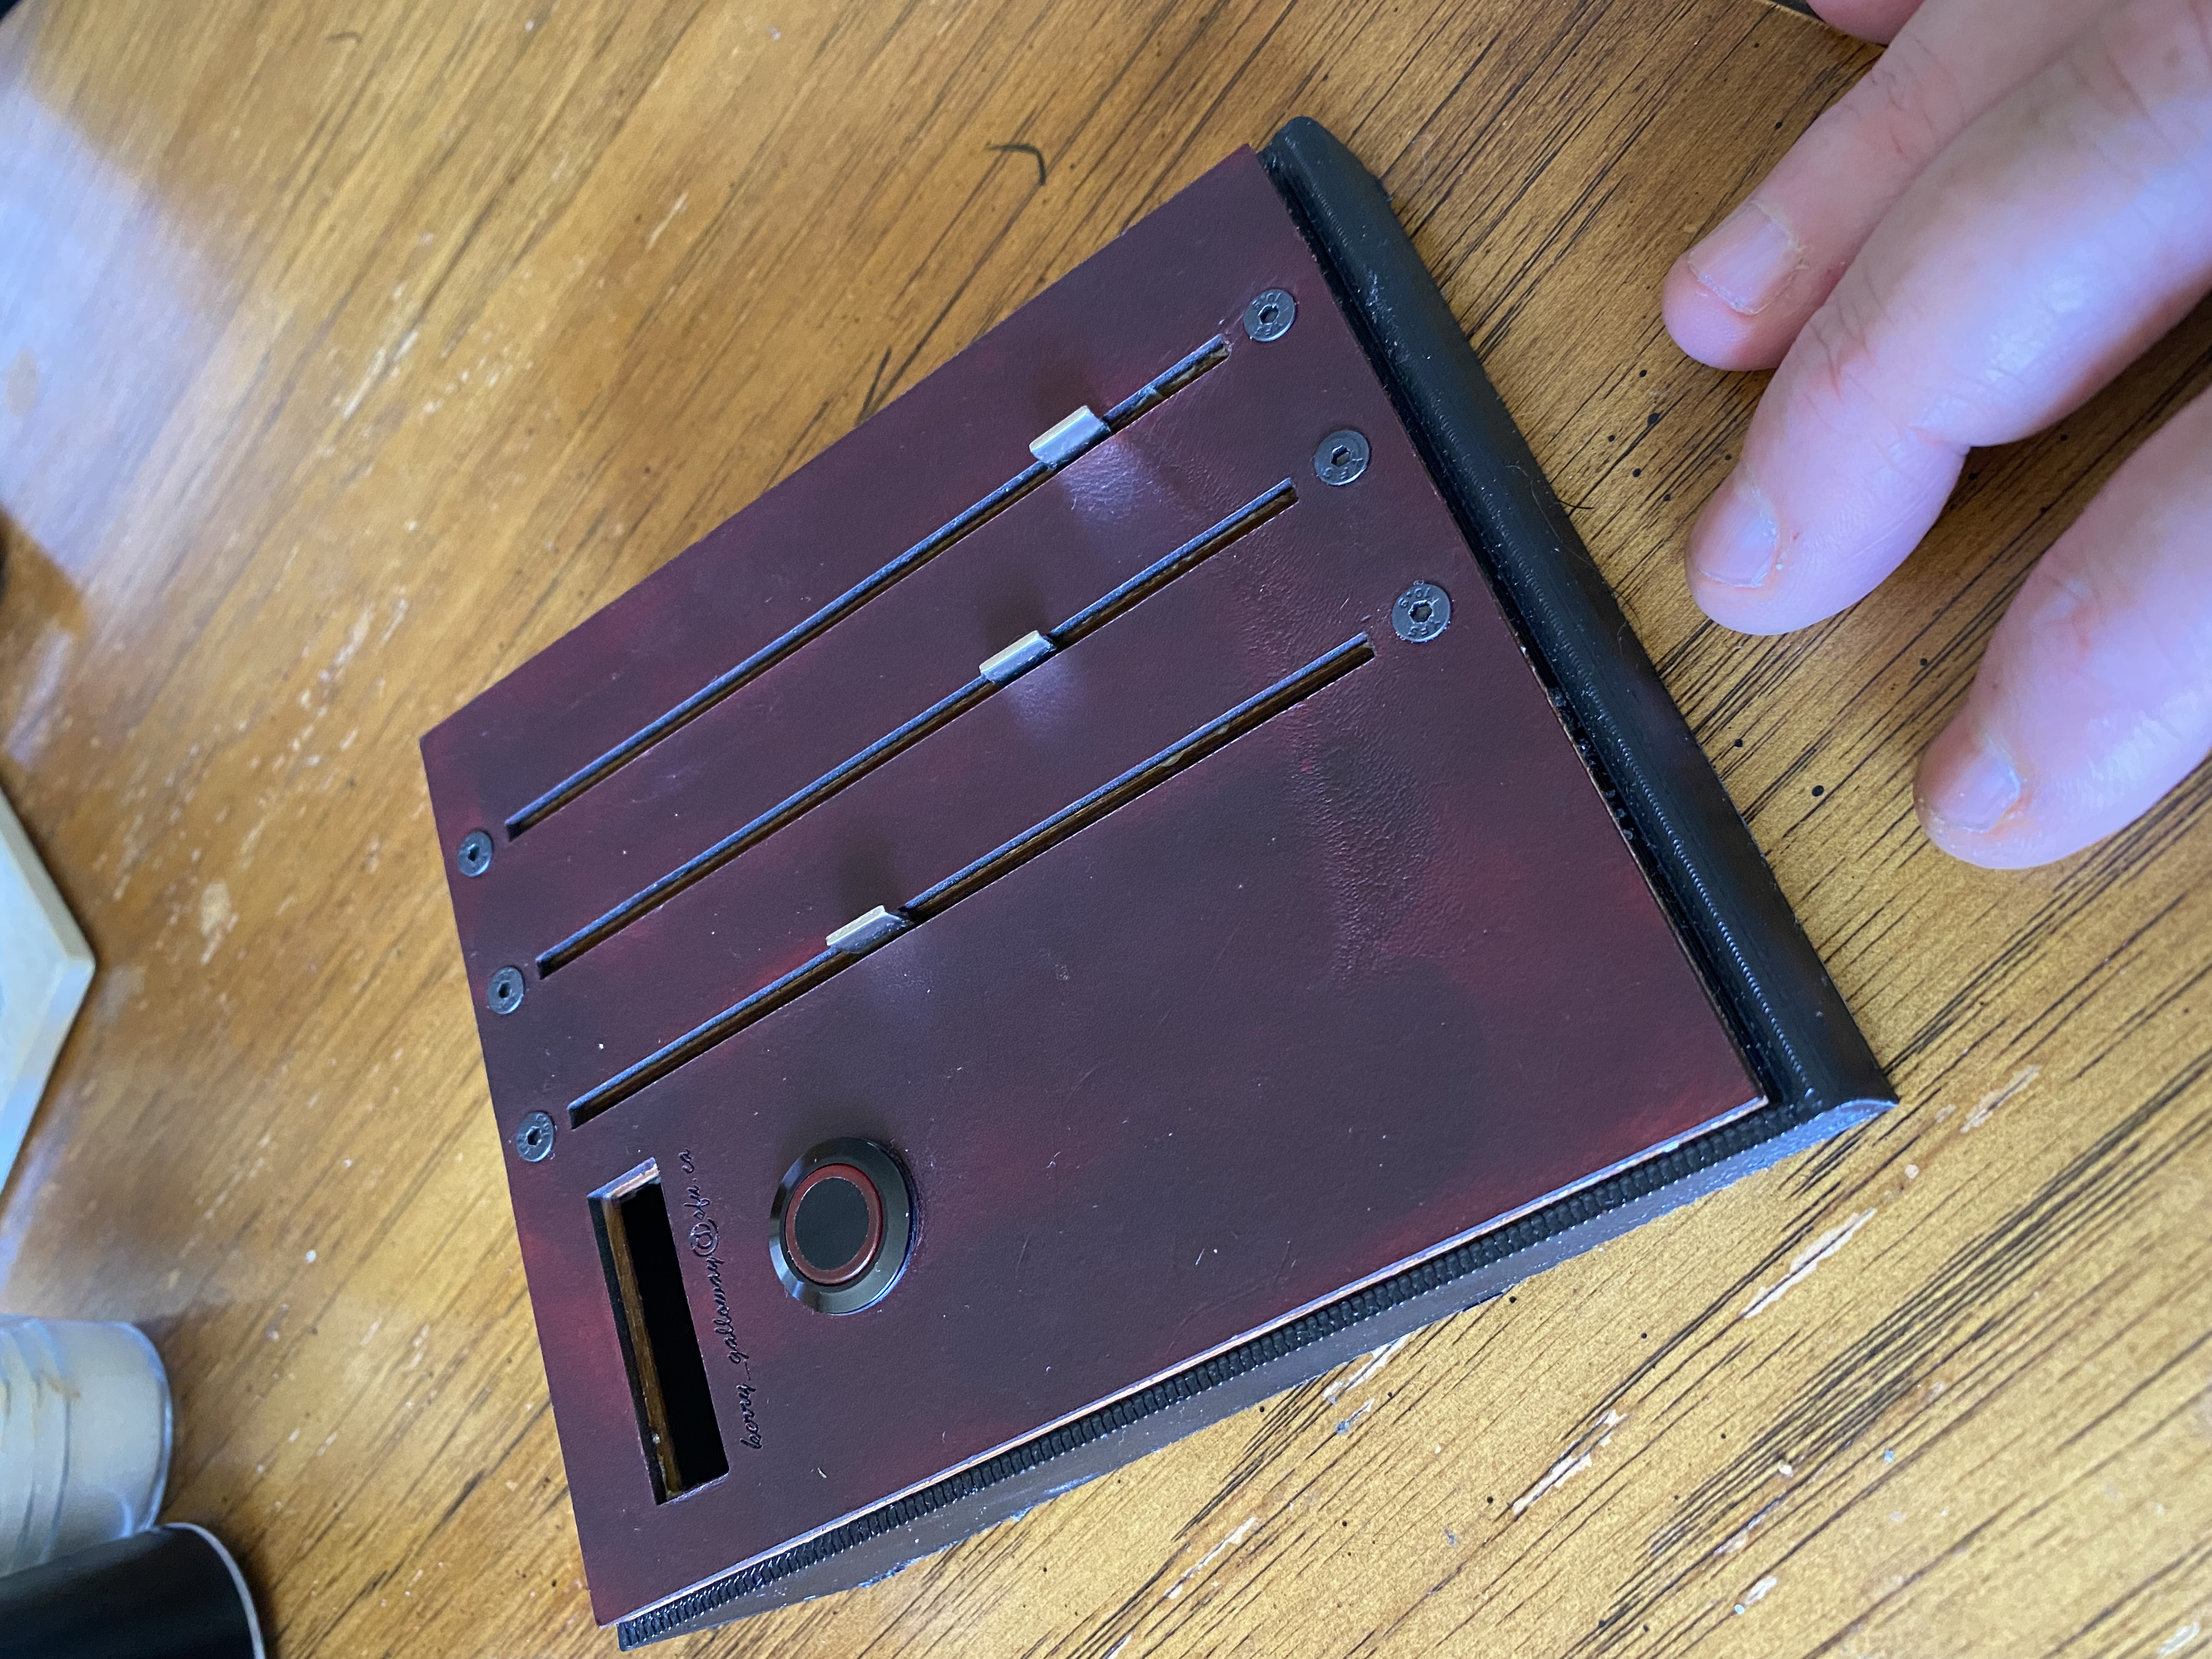
Another trip to the pharmacy for a box of nitrile gloves and some isopropyl, and I’m ready. I clean the leather with isopropyl, give it a couple of coats of “medium brown” dye, follow that up with some neatsfoot oil and then a coat of leather balm, and the resulting top is – OK, I am actually impressed. To my eye, it’s just perfect for what I’m aiming for.

And my intuition is now kicking into overdrive.
Lasercutting is going to be a wonderful direction for this project on a number of different levels. 3-D printing the box takes about 8 1/2 hours of print time; laser cutting te panel took about 300 seconds for two pieces. Extrapolating, this probably means… five minutes a box versus 8 1/2 hours? Yikes, even allowing for glue-up time afterwards, that’s a no brainer if I’m ever going to make more than one of these. As far as materials, as it happens we built a fence this summer and I happen to have a bunch of leftover cedar fence panels that I haven’t yet decided what to do with, and with a little bit of work these can be turned into the raw materials for a future prototype.
I’m going to continue working with the “3-D printed box/laser cut plywood and leather top” idea for the prototype. But my mind has already turned to the idea of going with wood and leather – the mixture of organic materials I was looking for – and I’ve already started to investigate. I’ve got a bunch of cedar panels left over from building a fence, and a call to a contractor buddy confirms he has a planer, so I can quickly plane them smooth for my use.

And this is where it starts to become “a tale that grew in the telling”: I’ve now decided that I really need a workshop, and the tiny dirty shed below our laundry room – 1.6m x 1.7m x 1.8m high – is kind of the last unallocated covered space we have. A friend agrees to come over and help me muck it out and then turn it into a tiny little workshop for this and other house projects – insulate, drywall, paint the floor, put up a “French cleat” wall for accessories to save space, build a solid bench. I’ll be documenting all that in a separate series.
Skills I have begun to either pick up in the process, or am starting to dust off:
- beginning levels of coding for Arduino (including a four-hour online video course on coding in C++);
- beginning levels of 3D design/3D printing;
- beginning levels of laser cutting;
- beginning levels of leather dyeing and treatment;
- a bunch of miscellaneous stuff about “how to build a tiny workshop”
All in all, not a bad educational experience.